preloader
blog-post

Getting Started with Personicle API

author image

Getting Started with Personicle API

How Developers Can Create Applications to Access Their User’s Data

N|Solid

Build Status

Introduction

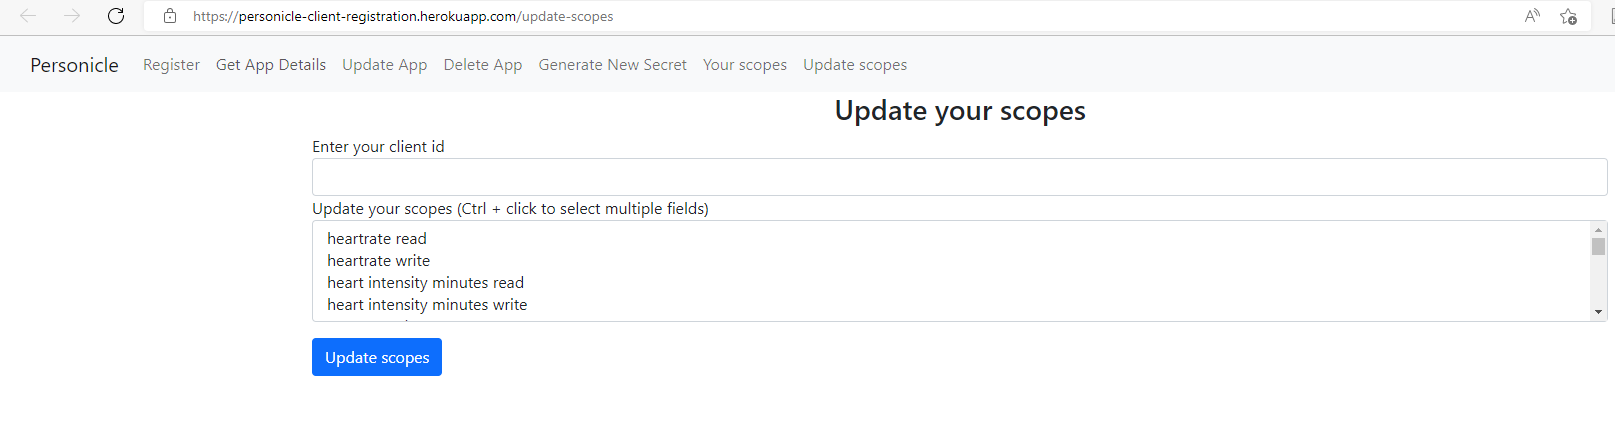
This article shows how developers can create applications to access their user’s data. It covers how open-source contributors can use our APIs to push data to Personicle and collect data from Personicle for registered user accounts.

Section 1: Create Personicle Client Application

  1. In order to register a client and access Personicle data, go to the Personicle client registration page.
  2. Fill in the form, “Register your application to Personicle”. Once done, click Register.
  • In application name, give a unique application name
  • In application URL, give a unique application URL (example: https://example.com)
  • In redirect URL, the client application can decide the redirect url, it just needs to be a url within the application they are creating. For example, if the client application is hosted at example.com, the redirect url could be (example.com/callback).
  • Choose what user data you would like to access. You can do this by selecting one or more of the the Personicle scopes and then click “Register”. For example, heartrate.read will allow you to read the heart rate data for the user and heartrate.write will allow you to write new heart rate data for the user.

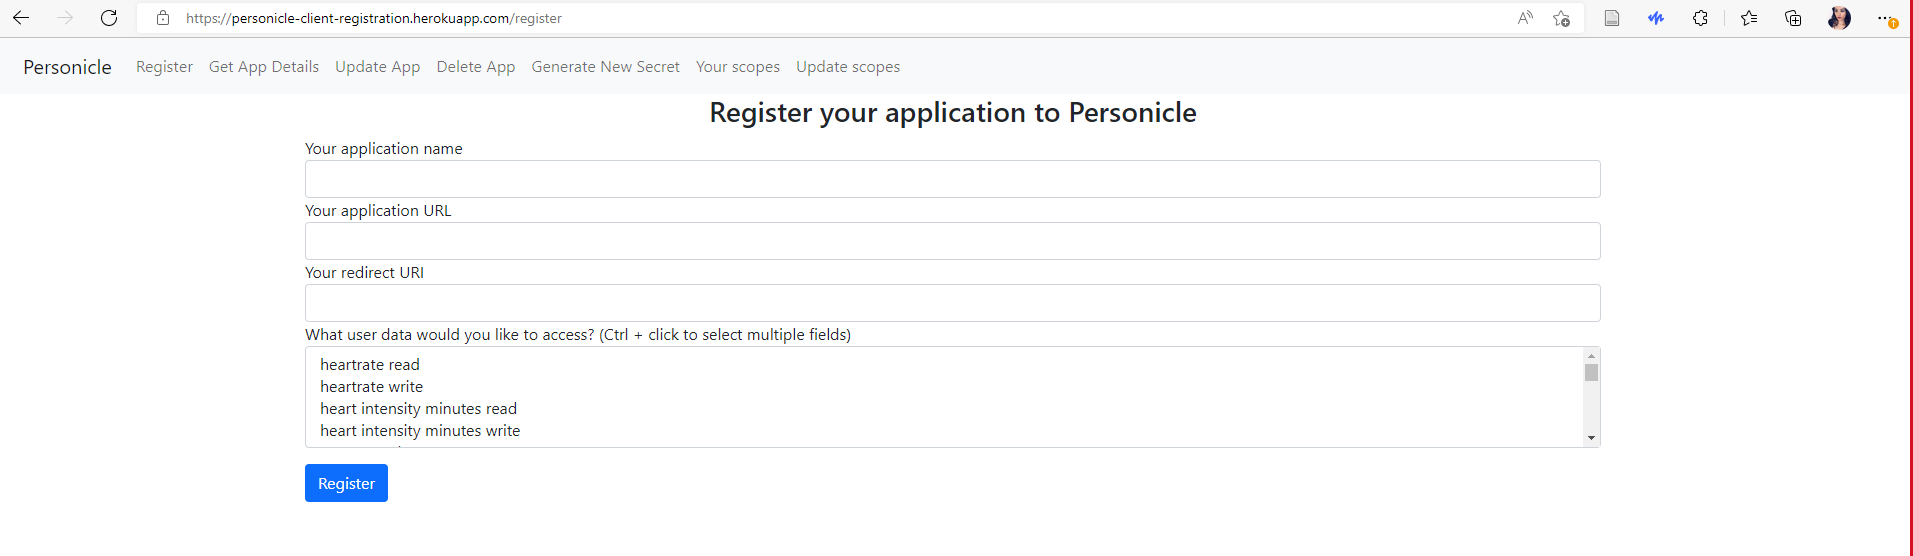
After successful registration, your client_id and client_secret will be generated. Make sure to make a note of it. You won’t have access to them later.

  • Scopes can be updated here. Note: This will override your current scopes.

Section 2: Authenticating Users and Accessing Data

A. How to Authenticate with OAuth 2.0

  1. Developers who have created this client application will need to use this link to let their users sign in to their developer application:
https://dev-01936861.okta.com/oauth2/aus445eqrgaj1kKdh5d7/v1/authorize?client_id=your_client_id&redirect_uri=your_redirect_uri&response_type=token&scope=openid+profile+email+additional_scopes&state=anyRandomString&nonce=anyRandomString
  1. There is a space here in this link to include their client_id, redirect_url for their application, and list of all Personicle scopes they requested access to.
  • To get your scopes, enter your client id at the following link: Application Scopes and then click “Get Scopes”.
  • Include the scopes that you want to access in the above url in scopes parameter. Example: 
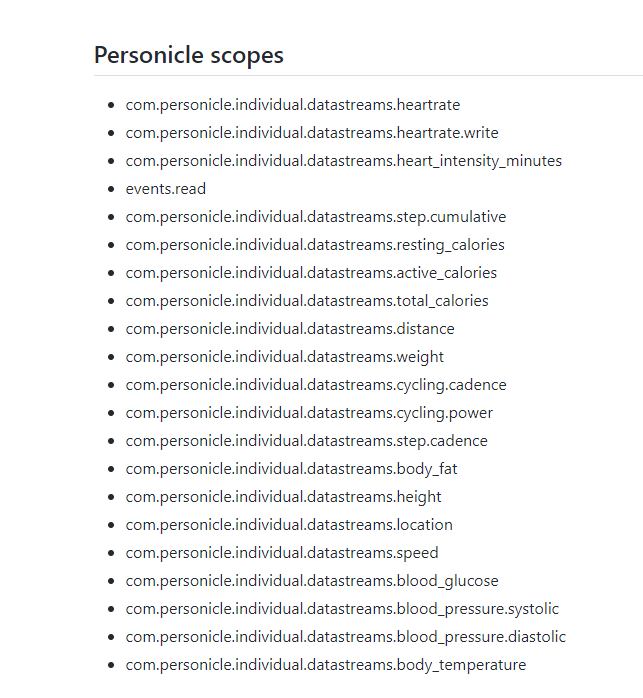
scope=openid+profile+email+com.personicle.individual.datastreams.heartrate+events.read.
  1. The client application developer will need to use the sign-in URL mentioned in point 1 somewhere in their application in the form of a button or link so when the user clicks on it, they will be redirected to a login page where they can sign in with their Personicle credentials.
  • After a successful sign-in the developers will get an access token in the redirect uri specified earlier which will allow them to access that user’s Personicle data.

B. How to Make a Request to Personicle API

Once you have the access token, you can make a call to the API endpoints in the format given in the Request Example:

GET https://api.personicle.org/data/read/events?startTime=2021-12-25 18:48:08.872234&endTime=2022-03-25 13:48:08.872460&source=google-fit
Events Endpoint

Events endpoint allows access to individual events within a specified time range.

  1. The Event Request API has a generic format of: https://api.personicle.org/data/read/events
  2. Choose parameters from the following and add them in the appropriate format to the base API URL.

Parameters:

  • startTime: timestamp for the beginning of the required time interval e.g. 2022-01-04 15:54:12.092754,
  • endTime: timestamp for the end of the required time interval e.g. 2022-01-08 15:54:12.092754,
  • source: desired data source (optional, example: google-fit),
  • event_type: desired event type (optional, example: sleep)
  1. Authorization Headers:
  • Authorization: Bearer <access token>

The response to the above request will be like this:

[
  {
      "user_id": "003vx....121",
      "start_time": "2022-03-16T00:20:00",
      "end_time": "2022-03-16T00:40:00",
      "event_name": "Walking",
      "source": "google-fit",
      "parameters": {
          "duration": 1200000,
          "source_device": {
              "packageName": "com.google.android.apps.fitness",
              "version": "",
              "detailsUrl": ""
          }
      },
      "unique_event_id": "8821-12....c-b23h-00"
  }]    
Datastream Endpoint

For the datatreams endpoint, the Datastream API Endpoint is:

GET https://api.personicle.org/data/read/datastreams?datatype=com.personicle.individual.datastreams.heartrate&startTime=2022-01-04 18:48:08.872234&endTime=2022-04-04 13:48:08.872460&source=google-fit
  1. The Datastream API Endpoint has a generic format of: https://api.personicle.org/data/read/datastreams
  2. Choose parameters for the following and add them in the appropriate format to the Request Example.

Parameters:

  • datatype (example: com.personicle.individual.datastreams.heartrate)
  • startTime
  • endTime
  • source (optional, example: google-fit)
  1. Authorization Headers:
  • Authorization: access token

The response to the above request will be like this:

  [
    {
        "individual_id": "00u50rvywd8mGuJw75d7",
        "timestamp": "2022-01-04T18:50:00",
        "source": "google-fit",
        "value": 73,
        "unit": "bpm",
        "confidence": null
    },
    {
        "individual_id": "00u50rvywd8mGuJw75d7",
        "timestamp": "2022-01-04T18:52:00",
        "source": "google-fit",
        "value": 86,
        "unit": "bpm",
        "confidence": null
    },
    {
        "individual_id": "00u50rvywd8mGuJw75d7",
        "timestamp": "2022-01-04T18:54:00",
        "source": "google-fit",
        "value": 83,
        "unit": "bpm",
        "confidence": null
    }
]
comments powered by Disqus

Recent Articles